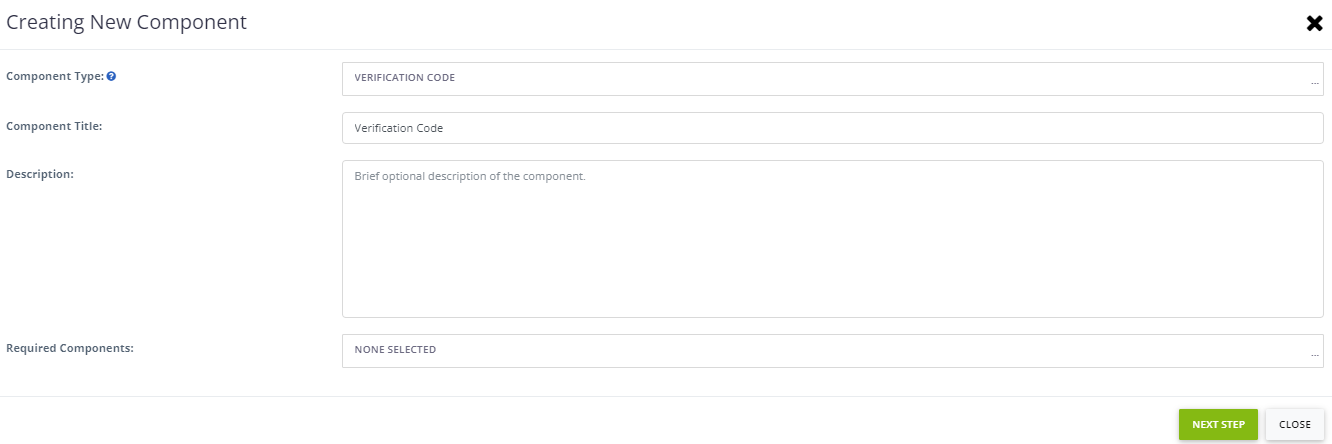
- From the Components tab of the Product, click "Create New Component" and select "Verification Code", give your Validation Code Component a title and description. Keep in mind the title will be used on the Product page and should be something learners will recognize. For example, you may consider using “Participation Code” or “Attendance Code”. The description will also be visible on the Product page. For example, if the title was “Attendance Code” your description may be “Enter the code that was given during the presentation to proceed”. Then click "Next Step"
This feature allows admins to add a check to ensure viewers pay attention.
NOTE
Validation codes must be communicated to your learners during the presentation either verbally or textually within the presentation/lecture.
- Next, enter the code that you will be providing within the presentation. You can add multiple validation code components as desired. But each component can have one code each.
- For example, your code may be alphanumeric, numeric or alpha only. Capitalization of letters does count. So if your code includes a capital "Z' and users enter a lowercase "z" the code will not be accepted.
- Click “update” to save.
Last modified Jul 18, 2025
Was this article helpful?
That’s Great!
Thank you for your feedback
Sorry! We couldn't be helpful
Thank you for your feedback
Feedback sent
We appreciate your effort and will try to fix the article