**Zoom will be deprecating the JWT app methods in June of 2023. Elevate will release a OAuth App to replace these deprecated method. More information will be coming soon.**
Here are the recommended steps for setting up Zoom accounts:
- Purchase Zoom licenses to support the amount of concurrent webinars you wish to hold and the number of potential attendees. Must have Webinar license add-on.
- The Zoom API does not work with Zoom Meetings only Zoom webinars.
- While you are logged into the admin level account, navigate to account management> account settings to edit some settings globally for all accounts set up in this group

Global Account Settings
- In the settings, MAKE SURE THAT ALLOW CO-HOSTS GETS TURNED ON. That defaults to not on but it’s a requirement for the speakers to be able to access via Elevate as a host. You may also want to turn on polls, make chat adjustments etc. anything done at this level applies to all sub accounts that you set up.

- While in the admin account, navigate to advanced>app marketplace. This is where you will generate the API keys to add to Elevate.

- In the top corner, click develop> build app

- Then click create under JWT

- Name the APP: Elevate Integration and then fill out the form with your account information ( company name, name, email) and click continue

- On the next page copy down the App Credentials as we need this to add to Elevate

- Once you have this, go into the Elevate site and go to settings>general>remote accounts and add in your ZOOM accounts. Add a zoom account for each unique zoom account you set up. Each time use the SAME API key you set up on the master level, just change the label and email to match that account.

TIPS & TRICKS
- While completing the above allows you to create the webinars during the web content component set up, it may be easier to create the webinars in zoom directly especially if there are multiple accounts in use to accommodate breakouts.
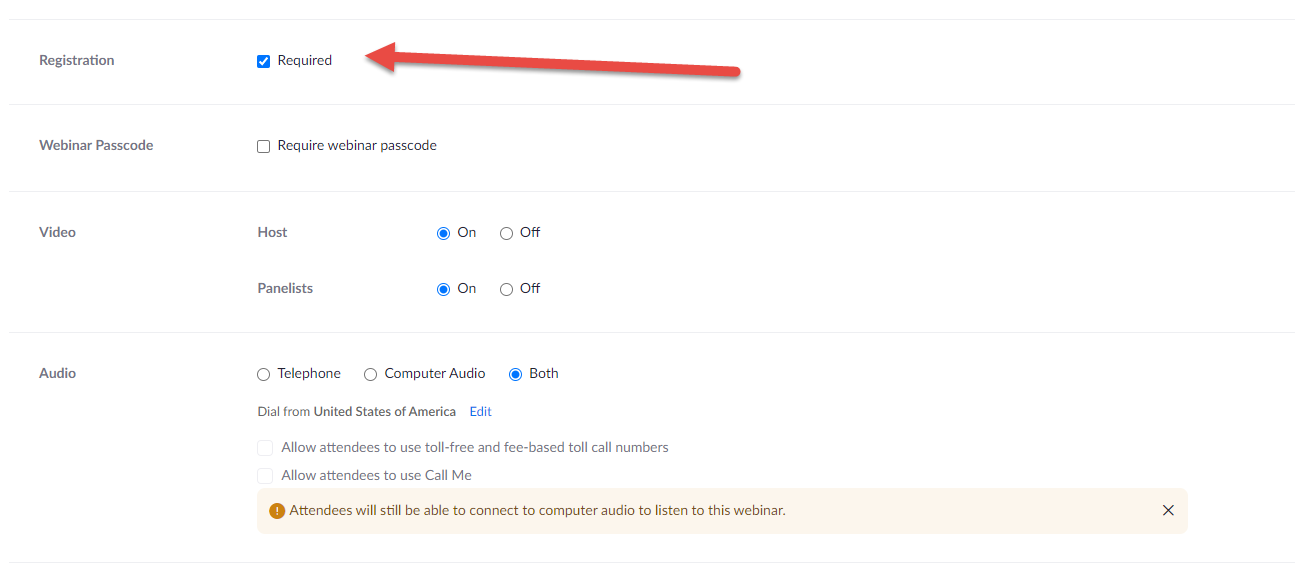
- When you set up the webinars in Zoom, you should select the following options during webinar set up:
- registration is required - and set to approve manually
- Don't add any extra Registration Questions or Custom Questions
- q&a
- enable practice session, and
- record webinar automatically in the cloud.
- Turn off "Require authentication to join"
- Unfortunately, these are not ones you can set globally which is why we recommend setting these up directly in zoom

- Another great idea is to set the first webinar up in zoom and save it as a TEMPLATE. Then you can reuse those settings each time you create a webinar

- Once your webinars are set up, then you can return to elevate and add the web content components. Just be sure to enter the same title and time for the webinar you added to zoom otherwise it will update with what is entered in Elevate. Choose the zoom account that you set this meeting up and then select the existing webinar to choose the zoom webinar you previously set up
Last modified May 28, 2024
Was this article helpful?
That’s Great!
Thank you for your feedback
Sorry! We couldn't be helpful
Thank you for your feedback
Feedback sent
We appreciate your effort and will try to fix the article