- From the Administrative Control Panel, navigate to Settings > Site Setup > Remote Accounts, then navigate to the Zoom tab.
- Select the button labeled “Connect Zoom Account.”
To make use of Zoom Webinars or Meetings in Elevate, you must connect your Zoom License(s) and install the Zoom App for Elevate following the instructions below.
The new app can be found in the Zoom App Store.
Instructions

- This will open a dialogue box to continue the process. Select the “Continue” button to continue.

- Once you click continue, you will be redirected to Zoom to authenticate access to the app. You must be logged into Zoom as an Account Owner or Admin with a developer role to be able to approve the account level app for use.
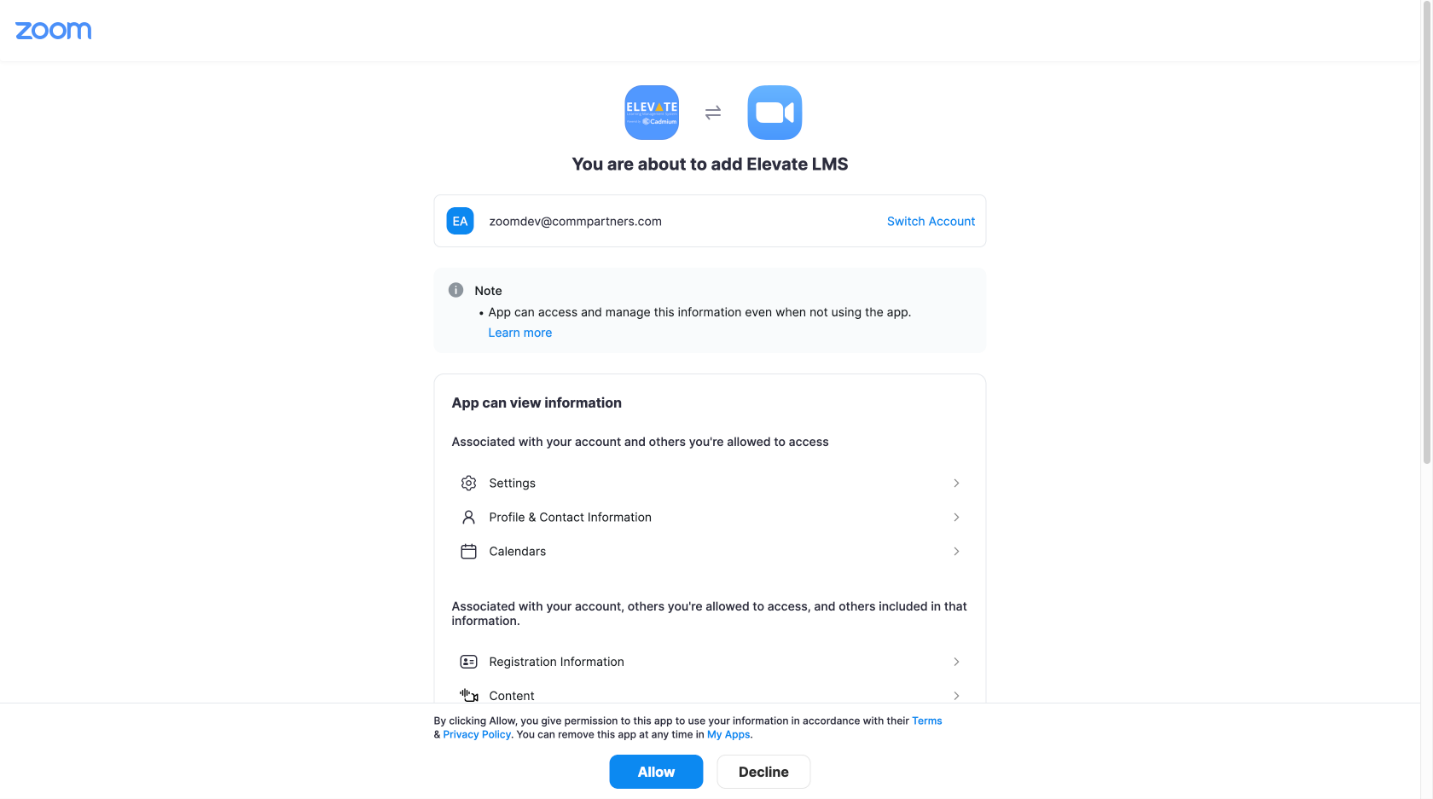
- Once the app is authorized, you will be returned to the Remote Account Settings within Elevate with your Zoom account details within the Zoom tab similar to the image below.

- Once the account has been authorized in Zoom, additional Zoom users with pais Zoom Webinar or Meetings licenses under that Zoom account can be added by clicking on the “Find and Add Zoom User” button.

- Once the licenses have been set up, they will be available for you to schedule Zoom Webinars or Meetings via Live Web Components.
TIPS & TRICKS
While completing the above allows you to create the webinars during the web content component set up, it may be easier to create the webinars in Zoom directly, especially if there are multiple accounts in use to accommodate breakouts.
When you set up the webinars in Zoom, you should select the following options during webinar set up:
- Registration is required - and set to approve manually
- Don't add any extra Registration Questions or Custom Questions
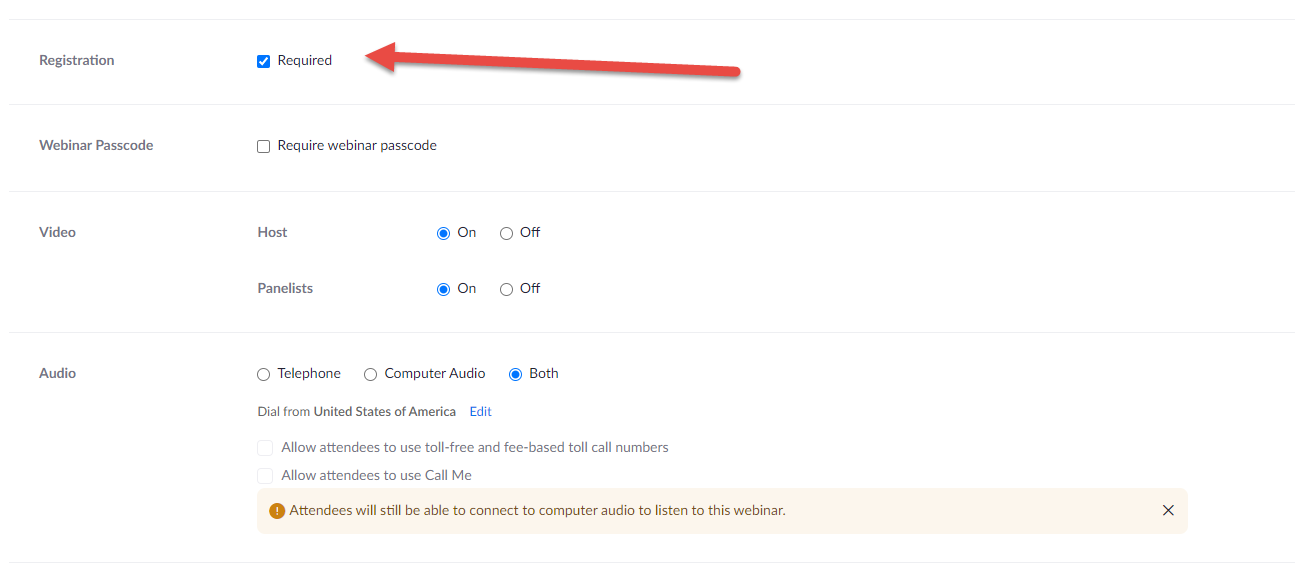
- Enable practice session, and record webinar automatically in the cloud.
- Turn off "Require authentication to join"

NOTE
The options above are not global settings, and therefore we recommend setting these up directly in Zoom.
- Set up the first webinar or meeting in Zoom and save it as a TEMPLATE. This will allow you to reuse those settings each time you create a webinar or meeting.

- Once your webinars or meetings are set up, then you can return to Elevate and add the web content components. Be sure to enter the same title and time for the webinar you added to Zoom, otherwise it will update with what is entered in Elevate. Choose the Zoom account that you set this meeting up and then select the existing webinar to choose the Zoom webinar you previously set up.
- When using this integration, the Elevate registration count will not show the Zoom account. As an example, while the Product registration may show 100 people register, the Registration in Zoom will show zero. This is normal. The Zoom API that Elevate uses does the following: When an Elevate registrant clicks the Enter Live Webinar button in Elevate, the API both registers the user in Zoom, approves the registration, and then logs them into Zoom.
Last modified Oct 16, 2025
Was this article helpful?
That’s Great!
Thank you for your feedback
Sorry! We couldn't be helpful
Thank you for your feedback
Feedback sent
We appreciate your effort and will try to fix the article