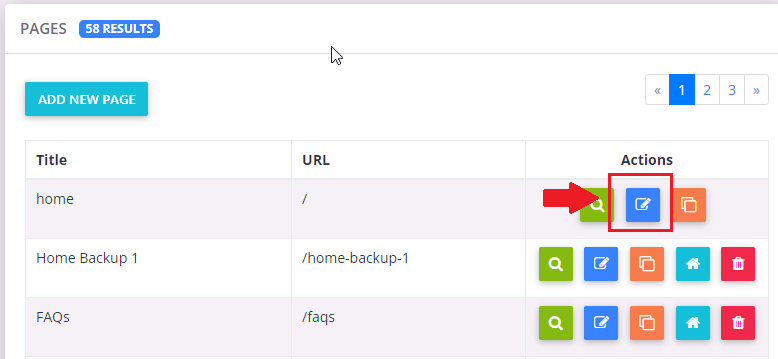
- Once you have found the page you wish to edit, click the "Edit" icon in the Actions column. This will take you to the page editor.
Your Elevate site includes a handful of pre-set pages, some of which can be edited and some of which cannot. You also have the ability to create any number of new pages on your Elevate site. There is no limit to the number of pages you can have on your site.
Non-Editable Pages on Your Site:
- Catalog
- User Dashboard (with the exception of the order of sections, filter status, and enabling the User Transcript)
- User Profile (with the exception of profile fields that can be added and deleted)
- Cart
Editing Existing Pages
To edit a page, follow the steps below:
- From the Administrative Control Panel, navigate to Content Management > Pages. This will take you to a full listing of all editable pages on your site.
NOTE
If you are looking for a specific page, you can use the search/filter pages functionality at the top of the page listing. When clicked, this will open a dialogue box where you can type in a keyword from any of your page titles.
- Once you have made any applicable updates, click the "Save" option to return to the listing of pages or click "Save and Stay" to continue editing the page.
Adding a NEW Page
- From the Administrative Control Panel, navigate to Content Management > Pages.
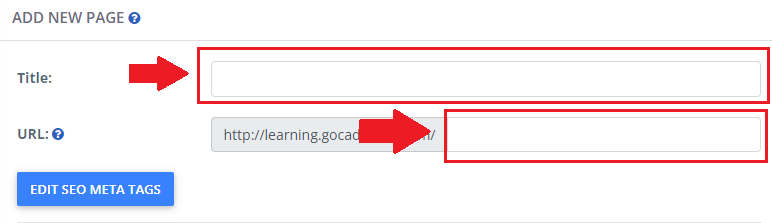
- Click on “Add New Page.” This will take you to the page set-up.
- Enter a title for the page in the “Title” field. This is a required field. If you would like to customize the URL slug, you can do so see. All pages on your site will begin with your site's subdomain. If you do not enter a URL into the URL field, the system will auto generate a URL paged on the title of the page listed above.
- To add any content to the main body of the page, click on “Add new widget to main page content.” Your pages are divided into 12 columns. So be sure you “size” your widget accordingly. If you want the widget to span across the entire page, give the “size” field a value of 12. If you want the widget to span across half of your page, give the “size” field a value of 6. Enter the number of rows that you want your widget to use. Keep in mind, the widget will auto-size the number of rows based on the content you have within it.
- For further instructions on how to set-up widgets, view the Setting Up a Widget tutorial.
- You also have the ability to add content within the sidebar on your pages by clicking on the “Add New Widget to Sidebar” button. The sidebar is limited to 1 column but is indefinitely long (unlimited rows). Any sidebar on a new page is only seen on that page. To edit the sitewide sidebar navigate to Content Management > Sidebar.
- Once you have edited your page, click the "Save" option to return to the listing of pages on your site or click the "Save and Stay" option to continue editing the page.
Last modified Sep 27, 2024
Was this article helpful?
That’s Great!
Thank you for your feedback
Sorry! We couldn't be helpful
Thank you for your feedback
Feedback sent
We appreciate your effort and will try to fix the article