- To activate this permission for other users, go to the user listing, search for the user you wish to grant the permission to and click on the gear icon.
Getting Started
In order to manage exhibits on your site, your site admin account must have “Manage Exhibitors” permissions enabled. Once the feature is enabled, any site admin with full admin rights will have this permission enabled.
NOTE
The Exhibitor Hall Module is a separate, paid, add-on module. To get information and pricing about this module, contact elevate-support@gocadmium.com or contact your account manager.

- Once in the permissions menu, check the permission for Manage Exhibitors.
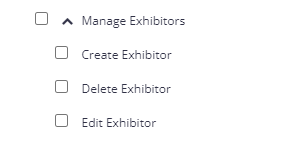
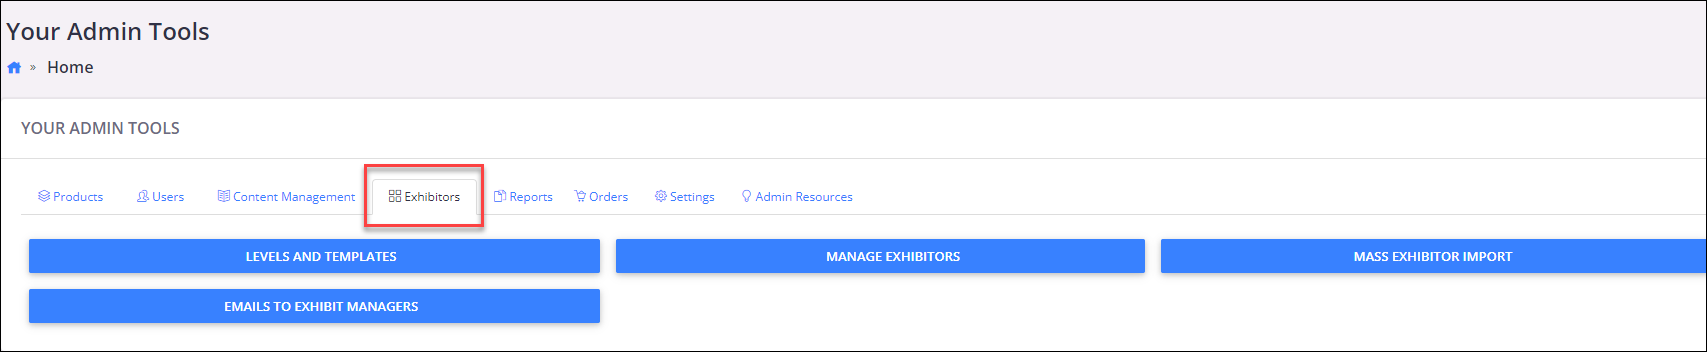
- Once you have the permission activated, you will see a new tab for Exhibitors from the Administrative Control Panel.
Step 1- Determine Exhibitor Levels & Templates
The Exhibitor Booths in Elevate are built using the same page building content management tools. Every exhibitor will receive their own booth page with a number of pre-assigned widgets to display their booth content. To determine the booth layout for exhibitors, create levels and booth templates. Exhibitor booths can also point to an external site rather than have a booth built within Elevate.
For example, you offer 3 exhibit options at 3 different price points: Platinum, Gold, and Silver (Platinum being the most expensive level). Platinum exhibitors should get the “largest” booth space with the most content, while Silver receives the least. In this case, you would set up 3 different exhibitor levels in Elevate, with 3 templates. If all your exhibitors receive the same booth size and content, then simply create a single exhibitor level and template to apply to all booths.
The linked page template and all of its widgets will be cloned when assigning an exhibitor to this level. Exhibitors will only be able to edit the widgets you offer on their templates. They will not be able to add additional content or remove spaces without Admin assistance. The booth template is not dynamic and must be finalized before rolling out the template to exhibitors. Changes to the booth template made after the exhibitor booths were created will not get any updates to the template.
Set up your Levels
- Go to the Exhibitor Menu, select Levels and Templates, select add new level.
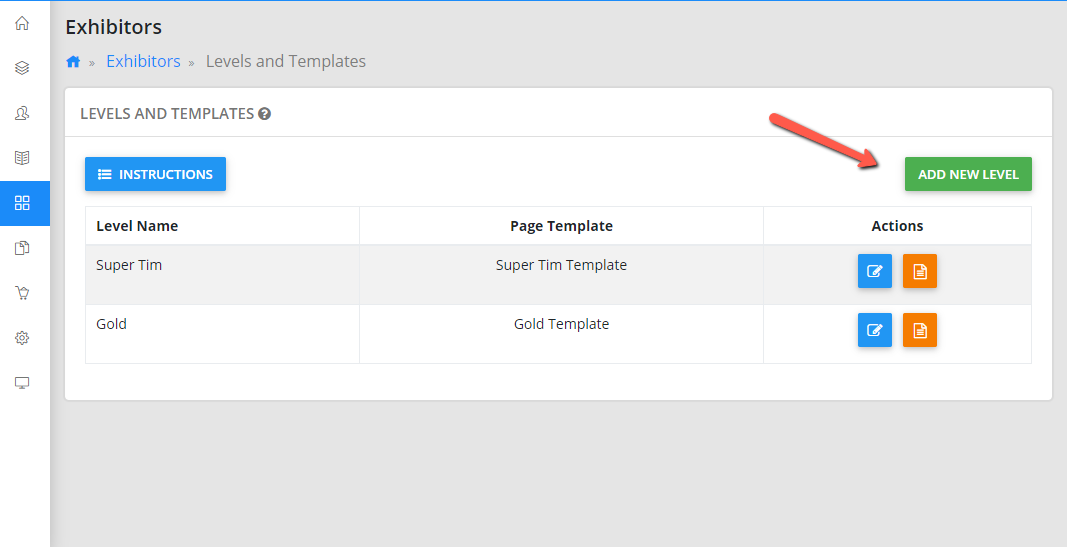
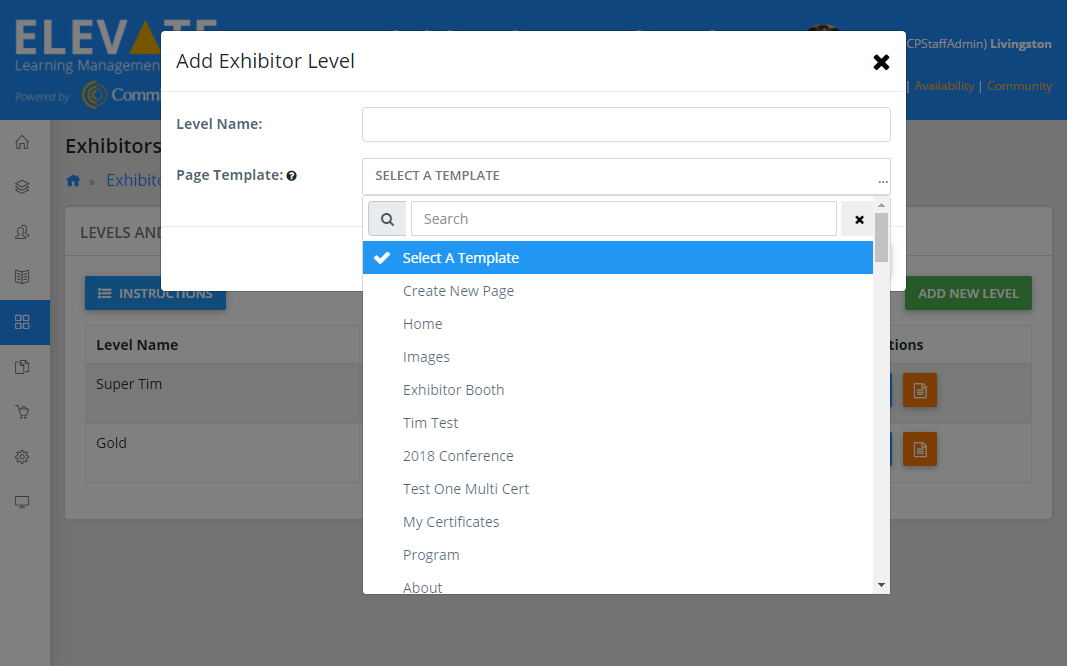
- Give your Level a Name and then select a Page Template to be used for all Exhibitors assigned to this Level from the listing of already created pages OR Create a New Page
IMPORTANT NOTE
It’s very important to finalize your booth templates before you move on to step 2 below. If the linked page template is edited after exhibitors have already been assigned, ONLY NEWLY ASSIGNED EXHIBITORS will have those edits on their booth pages. Existing exhibitors WILL NOT be affected.
Step 2 - Build Booth Templates
If you select Create a New Page while creating Exhibitor Levels you will be asked to add a Page Title and will then build the template. Likewise, you can build a booth template independently of creating an exhibitor level and then attach it to the exhibitor level upon adding the level.
- Once a Page has been assigned or created for each Level, look to the actions area to edit the template.

- The Template will open in a new window for you to edit the widgets and layout that will be used for exhibitors of this level.

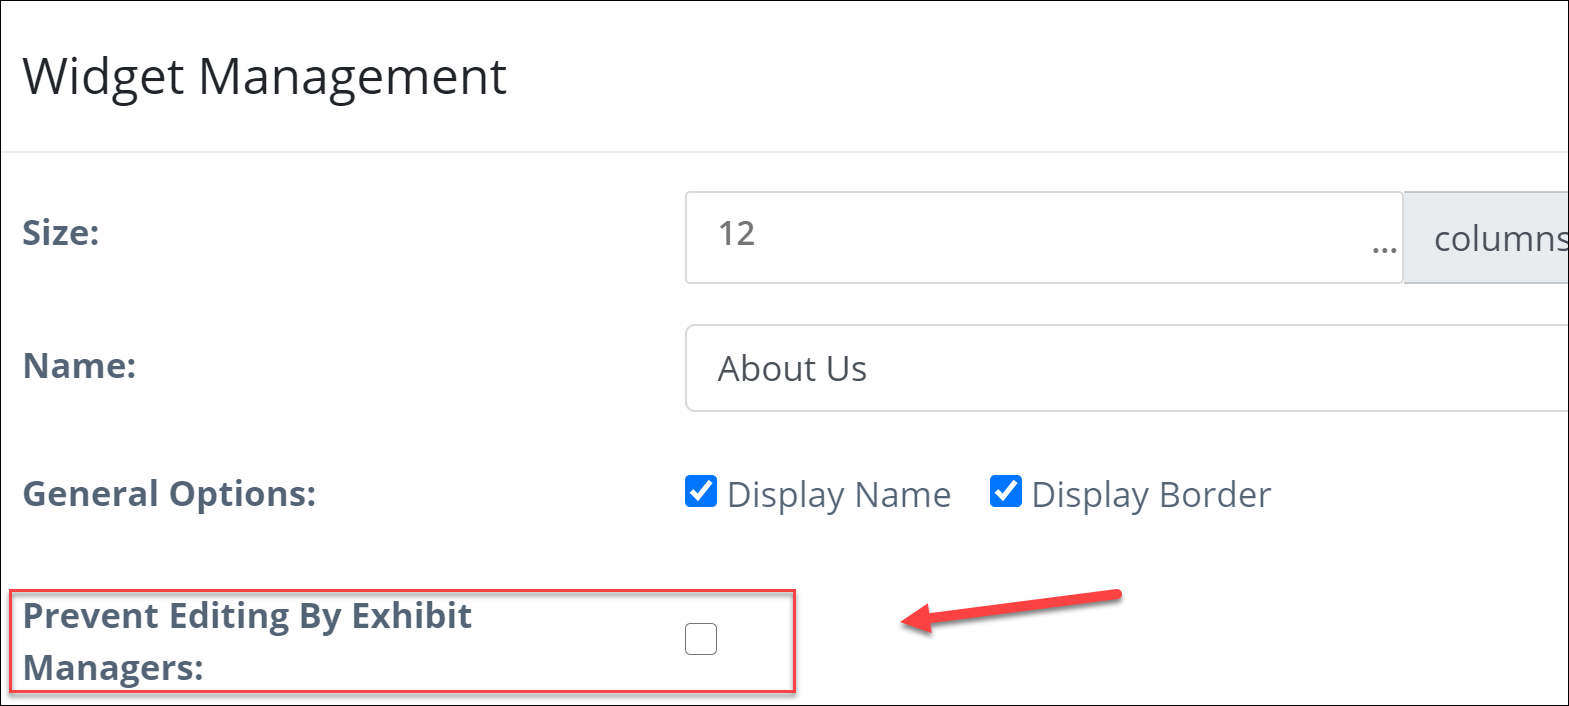
- If you wish to add a widget to the booth page template and do not want the exhibitor manager to edit that widget, select the Prevent Editing by Exhibit Hall Managers option in the widget management.
Step 3 - Create Exhibitors Manually or via Mass Import
After levels and page templates have been created, the next step is to assign the exhibitor manager. There are two options: manually add each exhibitor or mass upload a list of exhibitors. Any site admin will have edit access to the exhibit booth pages, so it is not necessary to designate them as exhibitor managers. (Refer back to user permissions). The exhibitor manager assigned to the exhibitor has admin access over the exhibit hall booth page, unless certain restrictions are in place.
Exhibitor Managers will have limited admin functions to add content to their booth. They are limited to page widget edits ONLY (they cannot add or remove widgets from their booth page). Site Admins can also prevent certain widgets on exhibitor booths from being edited.
Each Exhibitor should assigned at least one exhibit manager. The exhibit manager(s) will be created and assigned exhibitor permissions to edit the booth and pull reports associated with the booth.
Manual Exhibitor Creation
- Go to the Exhibit Menu > Manage Exhibitors. Click add new Exhibitor

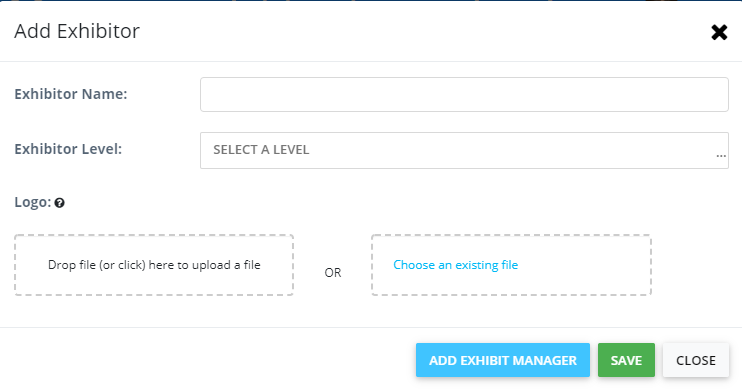
- Add the Exhibitor Name, select the Exhibitor Level and upload a logo for the Exhibitor. You can also add an exhibitor manager at this point. Click save. Once you click save, the exhibitor is saved and a booth page is created for them in accordance with the booth level assigned to them.
NOTE
The logo will be used to create the exhibit tile on the exhibit hall page and should be at least 300 px wide and 300 px high.
Mass Exhibitor Upload
- Use the mass exhibitor upload to create exhibitors in bulk, assign them to their level, and create exhibitor managers for each booth.
- Under the Exhibitors Menu, select Mass Exhibitor Import.
- Follow the instructions and view the Full User Exhibitor Import fields required for your account. Create a CSV file with the import fields required for your site. Note that Exhibitor Managers will need an account on Elevate to be able to have the booth editing and report permissions. If your account is connected via SSO with a database, the exhibitor managers will need to have accounts in your Database first. If you do not have SSO connection, existing users will be assigned Exhibitor Manager during mass upload. If a user match is not found, a new user will be created and assigned.

- Choose the CSV file and select import
- Once imported, a preview page will display the field mapping and flag any issues. If no issues are present, you can continue the import process.

- When the import is completed, all Exhibitors will be created and can be edited from the Exhibitor Manager menu. The Exhibitor Manager user accounts will also be created ( or updated if they already had an account)
NOTE
Only one Exhibitor Manager can be assigned per exhibitor using this tool. If you need to assign additional Exhibitor Managers, you may do so by using the Manage Exhibitors function.
Manage Exhibitor Actions
Under actions, you can manage the exhibitor in the following ways (Fig. 1):
- Preview the exhibitor Booth page
- Edit the exhibitor name, level, or logo
- Create a page and/or a widget
- Add exhibit managers to this exhibitor
- Send an email to the exhibitor
- Edit the exhibit booth page
- View the booth visitor report
- Delete the exhibitor

FIG. 1 - Exhibitor actions
Other Exhibitor Options
The status of an exhibitor can be either active or inactive. When the status is active, the exhibit booth is not accessible by users. Changing the status to inactive in effect closes the booth for user access. Access is removed for exhibit managers and non-admin users.
Admins can now add Exhibitors who wish to use their own 3rd party booth (Link to website or other booth URL) instead of a booth on Elevate (Fig. 2). This allows the admin to create the exhibitor, upload their logo and external link to their booth so their booth tile can be displayed as part of the exhibit hall just like Exhibitors with booths created in Elevate. External Exhibitors have no exhibitor managers nor can they be sent emails from the “emails to exhibitors” tool.
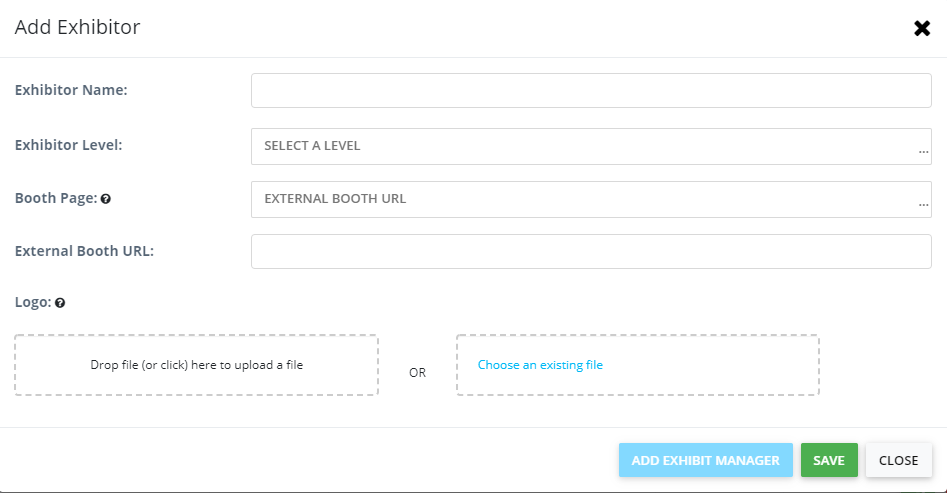
FIG. 2 - Add an exhibitor form
Step 4 - Emails to Exhibit Managers
Once the Exhibitors have been created and exhibit managers assigned, use the “email to exhibit managers” tool to send them instructions on how to populate their booth or send relevant reminder emails about submission deadlines etc.
- Go to the Exhibitors menu, select emails to exhibit Managers, select Create New Email

- Select the exhibitors you wish to send the email to, set a date and time to send the email, enter a subject, and use the editor (with merge tags) to customize the email to your needs.

- Click save or test now. The save will either save the draft or schedule the email to be sent. Test now will enable you to send a test email to an email address to ensure it appears properly.
- Emails are sent every 15 minutes. Once your email is scheduled, it will go out on the first run after the scheduled date/time. You can continue to edit the email or change the send time prior to being sent. You can also clone emails using the orange clone button.

NOTE
Be sure to check the Settings>Site set up> Email Server to set up your mail server and ensure outgoing mail is enabled on your account (Fig. 3).

FIG. 3 - Email settings
Last modified Jun 13, 2024
Was this article helpful?
That’s Great!
Thank you for your feedback
Sorry! We couldn't be helpful
Thank you for your feedback
Feedback sent
We appreciate your effort and will try to fix the article