NOTE
Warpwire is an add-on module. A trial account can be activated for all Elevate customers. For more information, contact elevate-support@gocadmium.com for pricing and activation.
Warpwire Content can be added to products as either Video Components or Web Content Components. This article will review adding Warpwire to a Web Content Component.
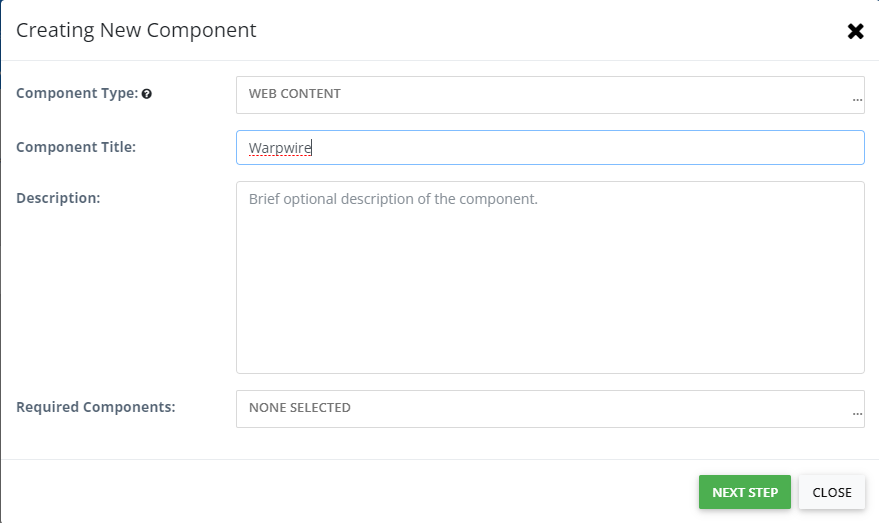
To begin, navigate to the product you would like to add the Video Component to. Click on "Components" to access the components for the product. Next, click CREATE NEW COMPONENT. Select WEB CONTENT from the Component Type dropdown menu. Once selected click the "NEXT STEP" button. This will take you to the set-up for the web content component.
Select either LIVE WEB CONTENT OR WEB CONTENT ON DEMAND under the Live or On-Demand dropdown menu. Next, select WARPWIRE from the Content Type dropdown menu.

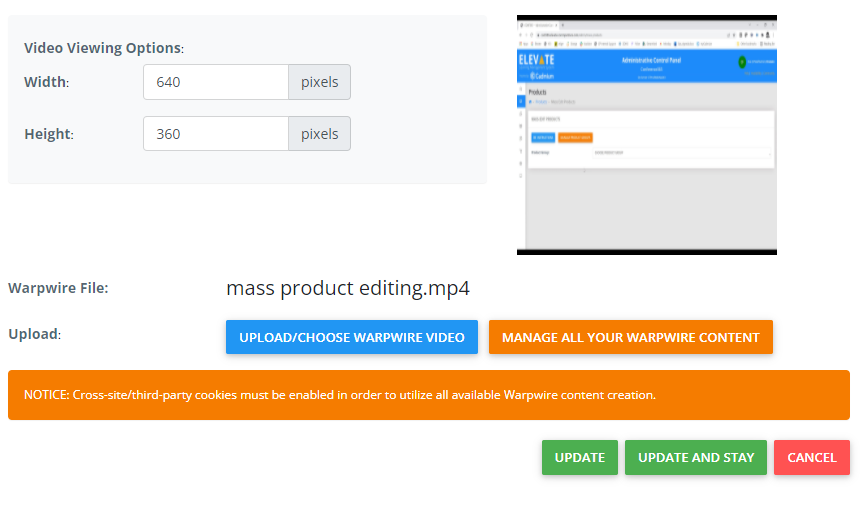
Once WARPWIRE CONTENT is selected, select the UPLOAD/CHOOSE WARPWIRE VIDEO or MANAGE ALL YOUR WARPWIRE CONTENT. This will create a media library in Warpwire for this product.
UPLOAD/CHOOSE WARPWIRE VIDEO will allow you to upload a video, record a video/screenshare, or select an already existing video in this media library to insert into the product.

MANAGE ALL YOUR WARPWIRE CONTENT will open a more complete Warpwire view to allow you to view other media libraries, download media, view analytics, connect your zoom account and much more.
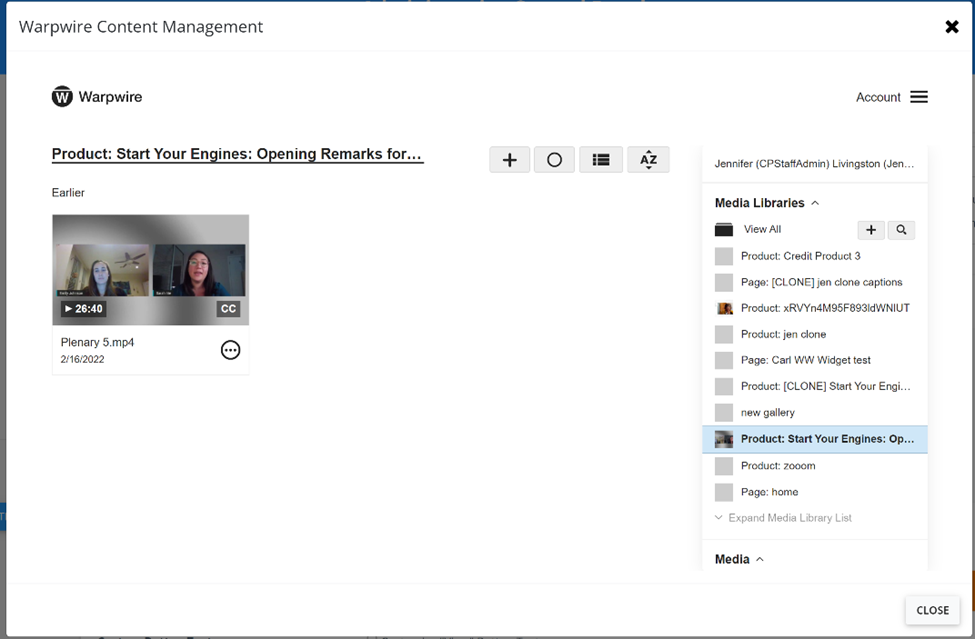
Select the video you would like to include by clicking the the selection circle next to the video. Once the video has been selected an option will appear that says "Insert X Item." Clicking anywhere in this area will insert the video into the video component.

Once your Warpwire content has been created and/or selected and inserted, you will be returned to the component editor. Once here click UPDATE (this will return you to the listing of components) or UPDATE AND STAY (this will keep you on the component editor).
For complete documentation on working in the Warpwire console, see visit the Warpwire support page.
Was this article helpful?
That’s Great!
Thank you for your feedback
Sorry! We couldn't be helpful
Thank you for your feedback
Feedback sent
We appreciate your effort and will try to fix the article